With more people working and going to school from home, having a fast and stable internet connection is more important than ever. Most of that depends on the quality of your home internet provider. However, if your home wifi network isn’t properly set-up, the best internet connection in the world will leave you with buffered video streams, hanging websites, and choppy Zoom meetings. This article provides tips to make sure your home wifi network is the best it can be.
Put your Wi-Fi Router In The Best Spot in Your House
There quite a few things that could affect your router’s performance based on where you place it in the house. When placing your router be sure to do the following:
- Place your router in the center of the house if possible. Radio waves tend to travel better down than up, so make sure the router isn’t on the ground. The ideal spot is the center of the house, elevated halfway between the floor and ceiling.
- Avoid placing your router close to metal objects and appliances that emit electromagnetic waves. Ensure your router or another network device isn’t near an air conditioner, even if it’s on the other side of the wall outside. Electric stoves, microwave ovens, washing machines, dryers, televisions, cordless phones, baby monitors, radiant heaters, and dishwashers are other appliances that give off a lot of electromagnetic interference.
- Other materials, including glass, wood, plastics, foam, and cardboard, can also disrupt a Wifi signal. It’s best to keep your router free of any physical impediments.
- A lot of wall studs use metal brackets, and some are even fully metallic. If your router must be put against a wall, use a stud finder ( <Borat Voice> – My Wiiiiiiiife!) to mark the studs and place the router between them against the wall.
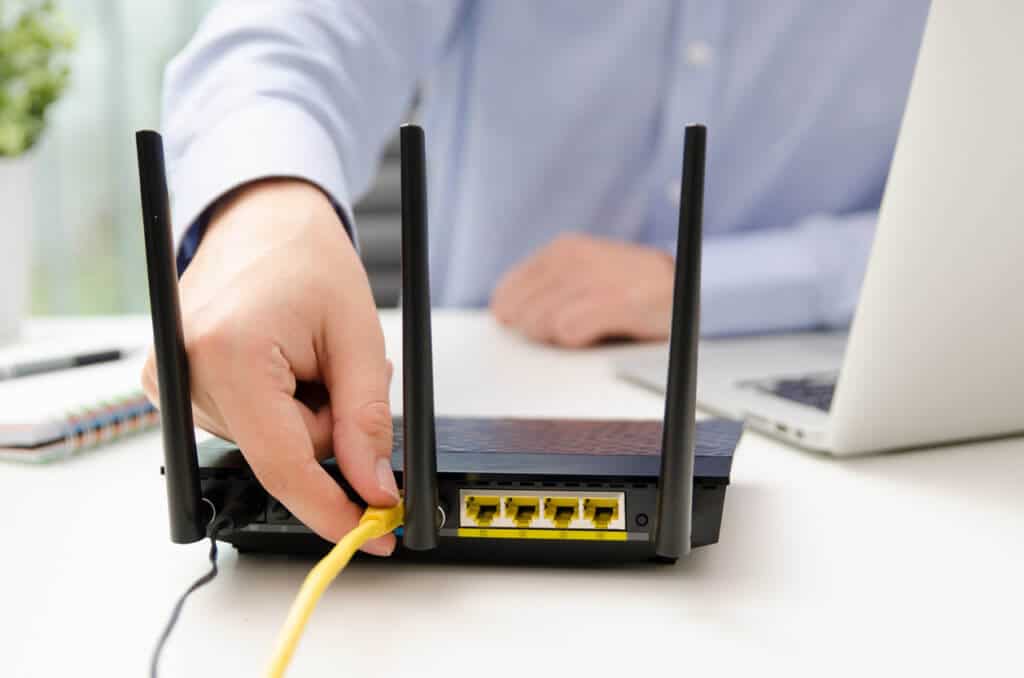
- Make sure nothing is blocking you are router’s antenna. Don’t hide your router in a cabinet or behind furniture. It will impede the signal.
Keep Your Router Updated
Even though your router is a piece of hardware, software instructions are called “firmware” in every router. This firmware is routinely updated to fix bugs, patch vulnerabilities, and sometimes unlock performance improvements in your router. When a router is compromised by malware, it’s typically due to it using out of date firmware. Some routers like Google Nest will automatically keep your router up to date. However, some will require manual updates. The instructions below explain how to see if your router requires a firmware update.
- Open a web browser and type in your router’s IP Address. It will typically be 192.168.1.1, 192.168.0.1, or 10.0.0.1. Although, this can be set to another address when configuring a router. Check your router’s owner’s manual to see the default if you haven’t changed it. Manuals are available on the manufactures website for download.
- The admin page should appear. Log in using the username and password. Again, this could have been set when configuring your router. If not, the owner’s manual will let your know the default administrator username and password. It’s typically something like admin/admin or admin/password. Sometimes it’s on a sticker on the bottom of the router.
- Once you are logged in, one of the tabs will let you check for firmware updates then download and install them. It’s usually in a tab called “Advanced” or Administration. I recommend consulting your owner’s manual on the firmware update process to update your router’s firmware correctly.
- While your router is updating, DO NOT TURN IT OFF. This could make your router completely useless.
Keep Your Network Secure
You want to make sure your home network is secure. Otherwise, strangers can get on your home network and steal valuable bandwidth. When setting up your network password, make sure you are using WPA2 with a strong password. WEP and WPA security have been compromised and should not be used. Make sure you change the default name of your WiFi Network. You can also turn off the broadcast of your SSID. This will mean the network will not show up in the menu when connecting to the device, and you will need to type it in to join the network manually.
Make sure you disable Wi-Fi Protected Setup (WPS). This allows connecting devices to the network using a PIN printed on a sticker or pushing a physical button on the router. These are vulnerable to brute force attacks. It’s also wise to set up your own administrative user on the router with a strong password and then disable the default admin account.
These techniques can all be accomplished through the routers administrator page. I explained how to access the “Keep Your Router Updated” section of this article.
Optimize the Layout of Your Network
There are many ways you can configure your home network to improve the Wi-Fi signal in the house. I go into more detail on optimizing your network in this post on the best wireless router under $100, but in short, you can do the following:
- Modern routers operate on both 2.4 GHz and 5 GHz frequencies. Put newer devices on the 5 GHz band if they are capable of using it. This is another way to alleviate congestion.
- Increase Wi-Fi coverage by adding more Wi-Fi access points or signal repeaters in areas of the house where you have poor WiFi coverage. Using a mesh network is an easy way to use multiple devices to provide Wi-Fi coverage to your entire home.
- When using multiple routers, switches, and access points, it may make sense to connect routers, switches, and access points on an Ethernet Network. This will ensure the backbone of your network is stable. I show how to do this in detail in my guide: Improve Home Wi-Fi Network with Ethernet.
- Eliminate congestion by putting stationary devices like Roku or a PC on a wired Ethernet connection. The more crowded your Wi-Fi network is, the worse it will perform.
Choose the Best Wi-Fi Channel
This really pertains to the 2.4 GHz frequency, as the Wi-Fi standard utilizing the 5 GHz frequency operates better when managing its own channels. One expects routers operating on the 2.4 GHz spectrum to do the same this is not always the case. Your router typically divides the 2.4 GHz spectrum into 12, 20 GHz channels. These channels overlap with one another, but 3 channels overlap less than the others. Those are channels 1, 6, and 11.
I recommend experimenting with those channels to see if your signal improves. You may have a neighbor utilizing one of those channels, so that it may take a little experimentation. To adjust the channel, check your router’s documentation on the manufacturer’s website. It should be well documented.